Dec 28, 2022

Now that winter is in full swing, the sun has begun to set much earlier and the health of your vehicle’s headlights is even more imperative than ever! That’s why it can be incredibly scary when one of your headlights goes out! But, don’t worry! Destination Kia is here with a “do-it-yourself” guide to replacing your headlights so that you can get your ride back in tip top shape to take on even the darkest winter roads! Check out our guide below and, if you find that you don’t have the tools or time to take on the job, be sure to schedule your Kia service appointment online today!

Destination Kia’s Steps To Replacing A Headlight:
- Open and prop your vehicle’s hood.
- Remove the power connector from the back of the headlight. This may require a slight turn to get it loose.
- Remove the dust cover from the back of the headlight. This also may require a small twist to get loose.
- Some cars have a clip that holds the bulb in place. Press down on this clip to release the light bulb.
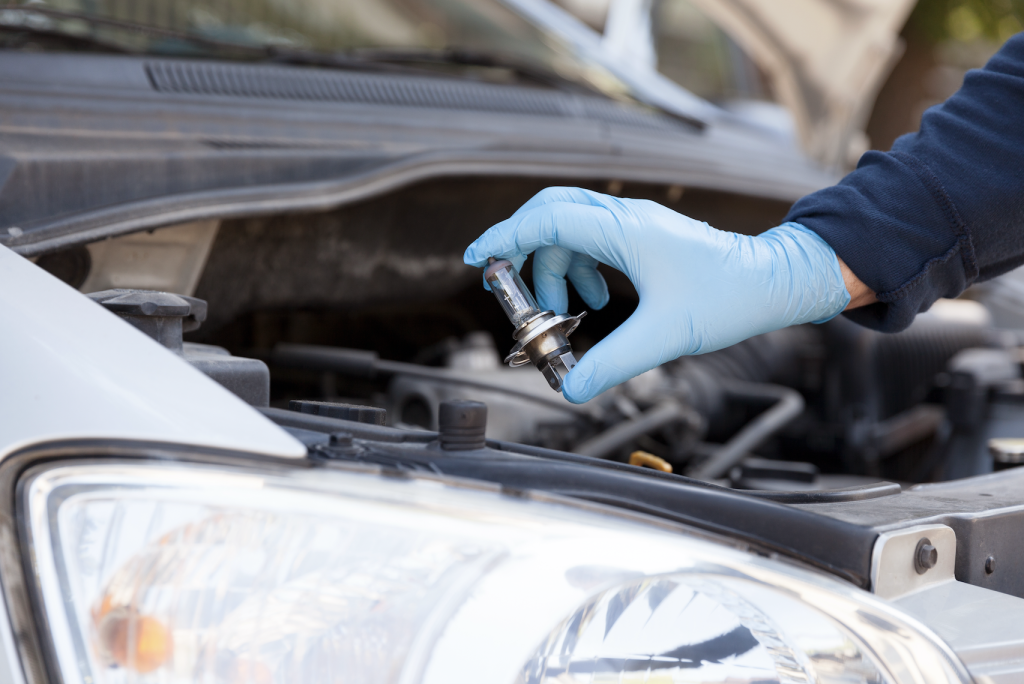
- Grasp the housing of the bulb and pull it out. This step may require a little wiggling to get it loose. Do not pull the bulb by the glass or tug the bulb roughly. You could cause it to break.
- Holding the old bulb and new bulbs by their housings, compare to make sure they match.
- To guarantee your bulb is free of dust and fingerprints, gently wipe it with a pre-moistened alcohol wipe or rubbing alcohol on a dust-free cloth.
- Line up the bulb housing with the open socket and insert carefully. Make sure it’s secure.
- Slide the bulb back in place and twist if necessary to make sure it’s locked into its spot.
- Replace the clip (if you have one), dust cover, and power connector.
- Turn on your headlights to ensure the bulb and connection are working.
- Close the hood and pat yourself on the back!


![[Facebook]](https://www.destinationkia.com/blogs/1016/wp-content/plugins/bookmarkify/facebook.png)
![[LinkedIn]](https://www.destinationkia.com/blogs/1016/wp-content/plugins/bookmarkify/linkedin.png)
![[Twitter]](https://www.destinationkia.com/blogs/1016/wp-content/plugins/bookmarkify/twitter.png)
![[Yahoo!]](https://www.destinationkia.com/blogs/1016/wp-content/plugins/bookmarkify/yahoo.png)
![[Email]](https://www.destinationkia.com/blogs/1016/wp-content/plugins/bookmarkify/email.png)


 Warranties include 10-year/100,000-mile powertrain and 5-year/60,000-mile basic. All warranties and roadside assistance are limited. See retailer for warranty details.